|
|
|
| FNF -- THE FRIDAY NIGHT FRAG | ||||
| Main
Back to Tutorials |
Lighting
Lighting gothic style levels effectively
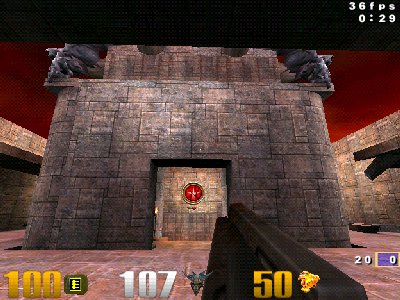
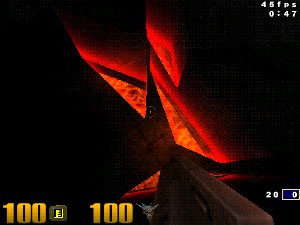
can be done in three realistic ways and one unrealistic ways. First the
unrealistic and easy way: This is pretty self explanatory, as in the
above picture you place a light with no obvious source this lights the
level and since most players don't care what lights their path you will
mostly get away with it. However rooms with no windows and lights are
usually quite dark, in fact you normally can't see anything in them, so
this method is quite unrealistic. Skies
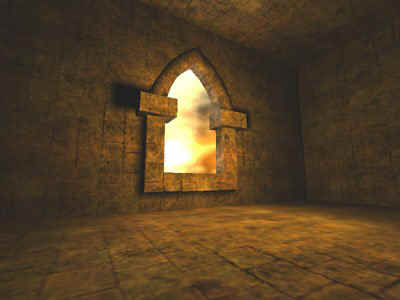
If you make your level open roofed or
outdoors then you level can be easily lit up, for an example check out the
Temple of Hate. If you don't want an open topped level or an outdoor map then simply border your room with windows which will show the sky or use a skylight or two. If you are sensible you can do this without using an environment box to save on compile time, and heres how... (you may want to look at the pointy arches tutorial afterwards to make gothic style arched windows) Firstly take the wall section that needs a window and make a hole in it of the appropriate size. Now make a brush that is bigger than the hole is wide and tall and place it behind the 'window hole'. Give this a sky texture and make sure that it leaves no leaks in the map. Give the window a basic border and your done. After reading about pointy arches you may want to make a window like this one:
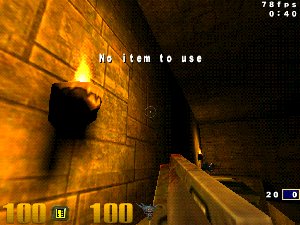
Note: Placing a light source in front of the window will light up the wall that the window is on and also help give the area a nicer ambient sort of daylight. On the other hand, not placing a light source gives a much more atmospheric effect, the light streaming through the window and casting shadows. Lava Lava glows red, if you plan to remake the
House of Chthon then this is definitely useful, just fill the lava area
and q3 does the glowing itself. However, lava can also be placed
under damaged floors so that the glow can seep through cracks and holes.
Remember that lava can also change the strategy of a level, you could make
a level based around a bridge over a lava river, also remember that lava
kills. Firstly
create a room, or goto the room in your map which ever, and make the floor
lava by applying one of the textures from the 'liquids' set. Make sure
that this floor is lower than the standard for your level. Now place the
real floor above this and make it match the others in the level or
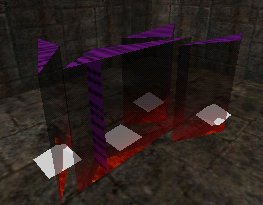
whatever. This is the basis of making the lava lit area. Now we will make the cracks, I would use CSG Subtract as it saves some effort in creating the glow effect. Assuming that you will use CSG Subtract, make a brush the shape of the crack and as tall as your glow effect will be. Give this brush the texture sfx/beam_red and give the top and bottom of the brush the common/nodraw texture. This brush will be our glow effect, move the texture so that it is in the correct position and then use the brush to CSG Subtract the cracks. Place a red or orange light source just above the crack to enhance the glow (about light 75 is good). Voila, a crack that glows from lava! Make some more untill you're happy and you should end up with something like this (minus the light sources if you don't want an over powering glow):
I used triangles 'cos I'm lazy so this doesn't look to good but if you but triangles together or use more complex brushes you can create thinner and more complex cracks. When compliled my cracks looked like this:
This
effect can easily expanded and the glow effect is not compulsory so try
some lava flows or pools in your levels to add a nice warm daemonic glow! Flames and Torches Firstly the best 'torch' model available for gothic maps is this one:
You
can sit a flame on top of it quite nicely, with no problems. So, how do we
make that flame? Well the answer is to use a very old trick... a cross
shape of two animated sprites.
Well that's just about it. Go forth and make a myriad of unfinished gothic style maps, but, with wonderful lighting effects.
Happy Mapping -- } |
FNF Gothic levels were common in Quake but there were none in Quake 2. This is one of the many reasons that Quake 2 is less popular amongst Quake and Q3A fans.
CSG Subtract is useful here
That shot came from Gothic Revival. Sorry!
CSG Subtract is useful here
|